

Having a web presence is essential for writers today. It gives your readers a centralized place to learn about you and find your writing. If you’re a freelancer it gives editors and potential clients a place to view your clips and a way to contact you. It allows you to grow a mailing list by giving your readers a place to sign up for it. Your website is the one place on the internet that you control, and more control means more ways to grow your reader base and business.
If you’re looking to start a website or blog but don’t know how, look no further! I’ve got easy instructions to help you get set up with Bluehost.com, and if you use my affiliate link you also get a discount! You can follow the tutorial without using my affiliate link, but if you do it means I get a commission from your purchase, at no cost to you, and you get a discount on web hosting:

There are several reasons to go with Bluehost for your website: They are the #1 web hosting service recommended by WordPress.com They have one-click WordPress installation so you don’t have to worry at all about the technical details. They have excellent customer support, so if anything goes wrong with the process you can call or chat with them and they’ll get it fixed ASAP. They have a ton of themes to make your website look amazing without you having to do any web coding at all.
It will help to have an idea of what you want your domain name to be before you go into this process. Your domain name is the name of your website, like www.example.com. It has to be unique, so all names are registered to ensure only one of them exists. Here are some tips:
- Have a list of names ready before starting. Don’t try and find out if someone else has that name already by typing it into the search bar of your web browser or by checking on GoDaddy.com before you’re ready to buy! Some believe those searches are collected and sold to people who then quickly buy the names and try to sell them back to you at a profit. This may or may not be an urban myth, but why take that chance? Just write out every version you may want to use and order them from most to least desired. That way you’re ready when you go in.
- Decide if you’re going to buy all versions of your name possible, or just one. Meaning, are you going to buy the .com, .net, and .org? There are a wide variety of suffixes to choose from now, so do a little research on how much it costs to register each domain name and what different suffixes are available.
You can register your name through many different companies. You can register a name and never actually build a website with it, or register it as part of the process of actually setting up a website. In order to set up a website you have to have a server to run your website on. Most people rent space on a commercial server so they don’t have the complications of setting up their own server. This is called purchasing web hosting. You then put together the code that determines the way your website looks.
In this tutorial I’ll show you how to register your name and purchase web hosting through Bluehost.com, then use one of the many free themes included with your plan to style your website. Don’t worry, you don’t have to know how to code anything! Bluehost automates almost the whole process so it’s all as easy as point and click. The longest parts are generally picking your name and then picking and customizing your theme. You can have the initial setup done in under a half hour, but it will likely take you longer to customize your theme and start adding content.
Tutorial
-
-
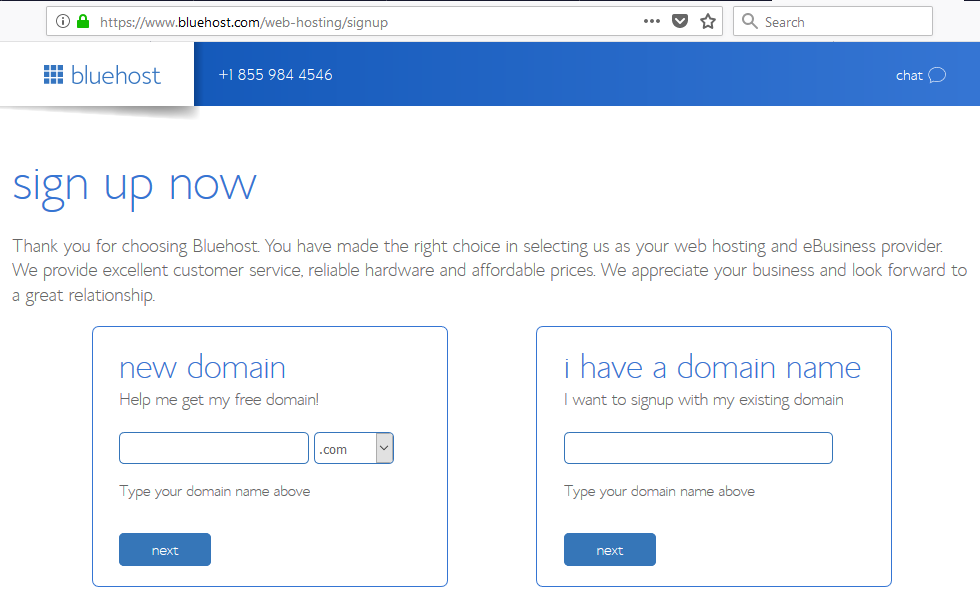
- Type your desired domain name into the ‘New Domain’ box and click ‘Next.’
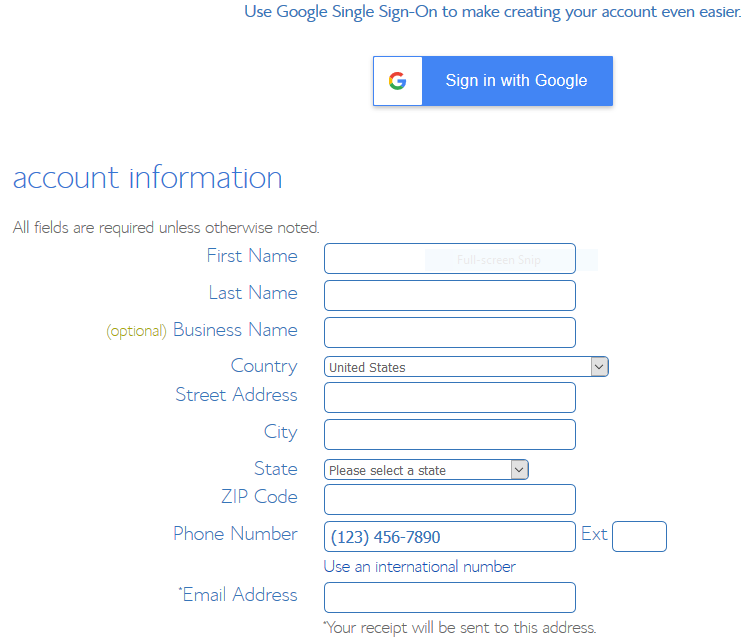
- Type in your account information.
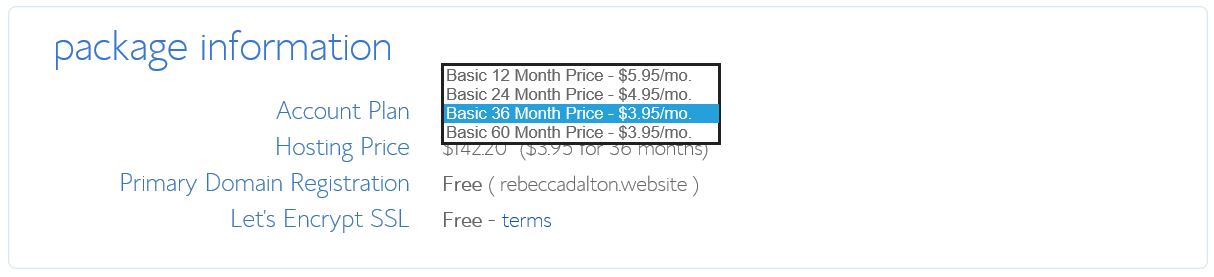
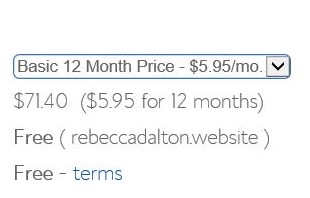
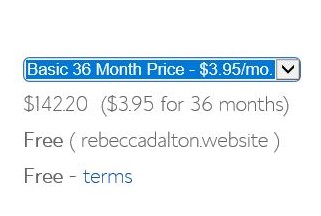
- Choose your package. You can purchase hosting for one to five years. Your discount increases as you increase the length of your contract, but it all has to be purchased at once. Even though they advertise “$3.95 a month” you don’t get to pay for the site in monthly payments.
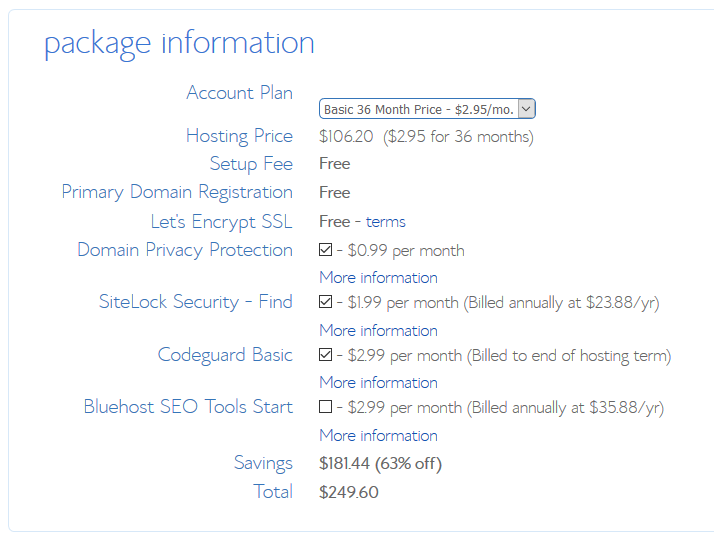


I recommend purchasing Domain Privacy Protection. It will keep your personal information (name, address) private so that it can’t be looked up by the general public. Your privacy is well worth the extra fee. The rest of it is up to you. I didn’t purchase the rest, and will decide later on if I want to or not.
- Once all of the details are sorted out you’ll get a congratulatory page where you can set up your password for your site.

Once that’s done you can log in.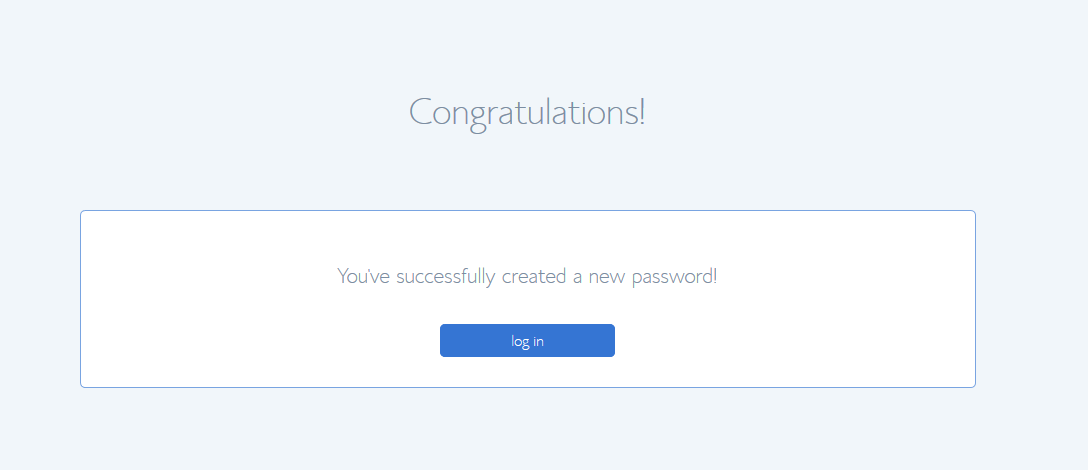
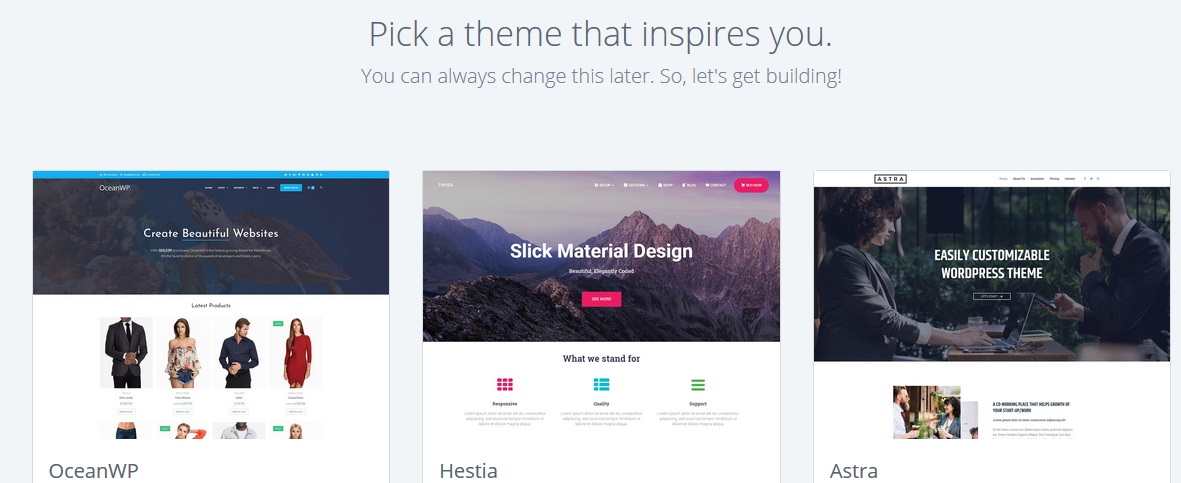
- You’ll be offered the chance to pick a theme now. You can pick one if one of them catches your eye, or skip the step and pick later.
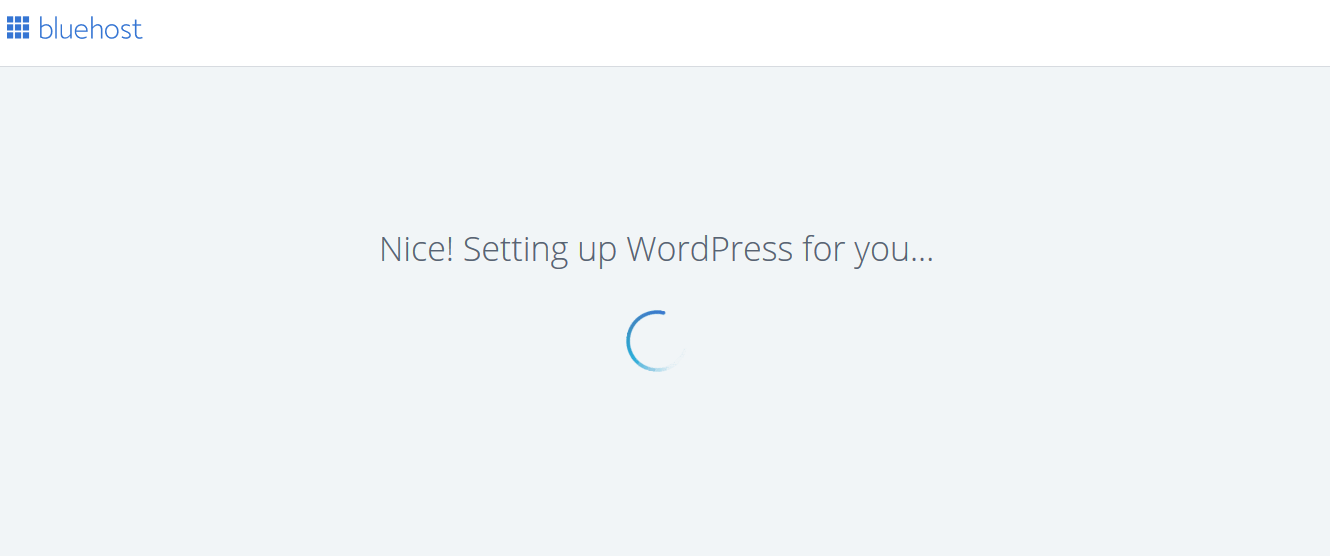
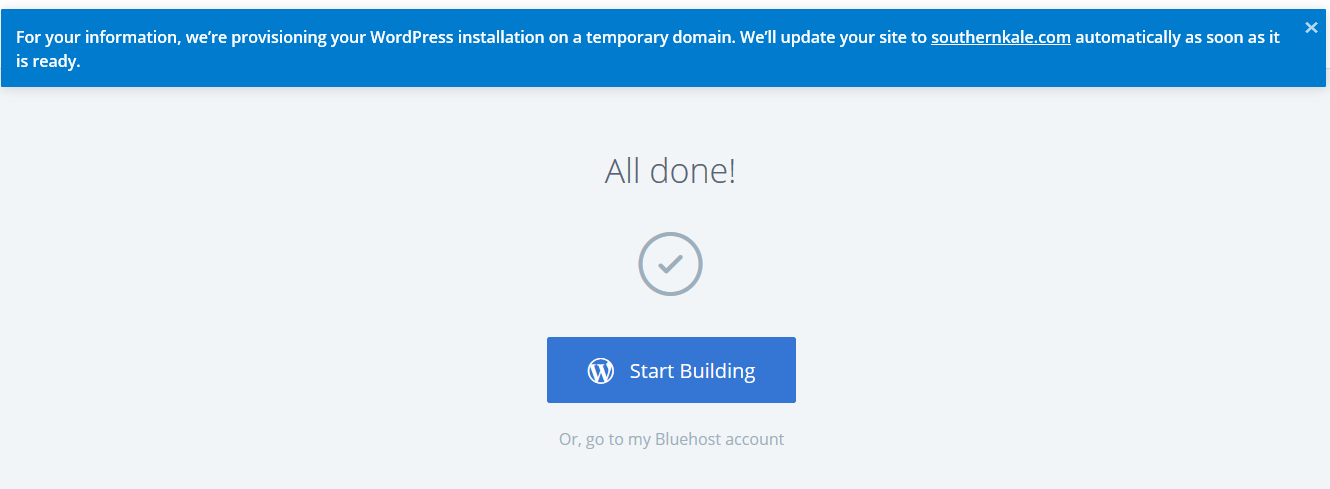
- Now Bluehost will set up WordPress for you automatically. You don’t have to worry at all about installing it on your own.
- Click ‘Start Building’ to start working on your website.
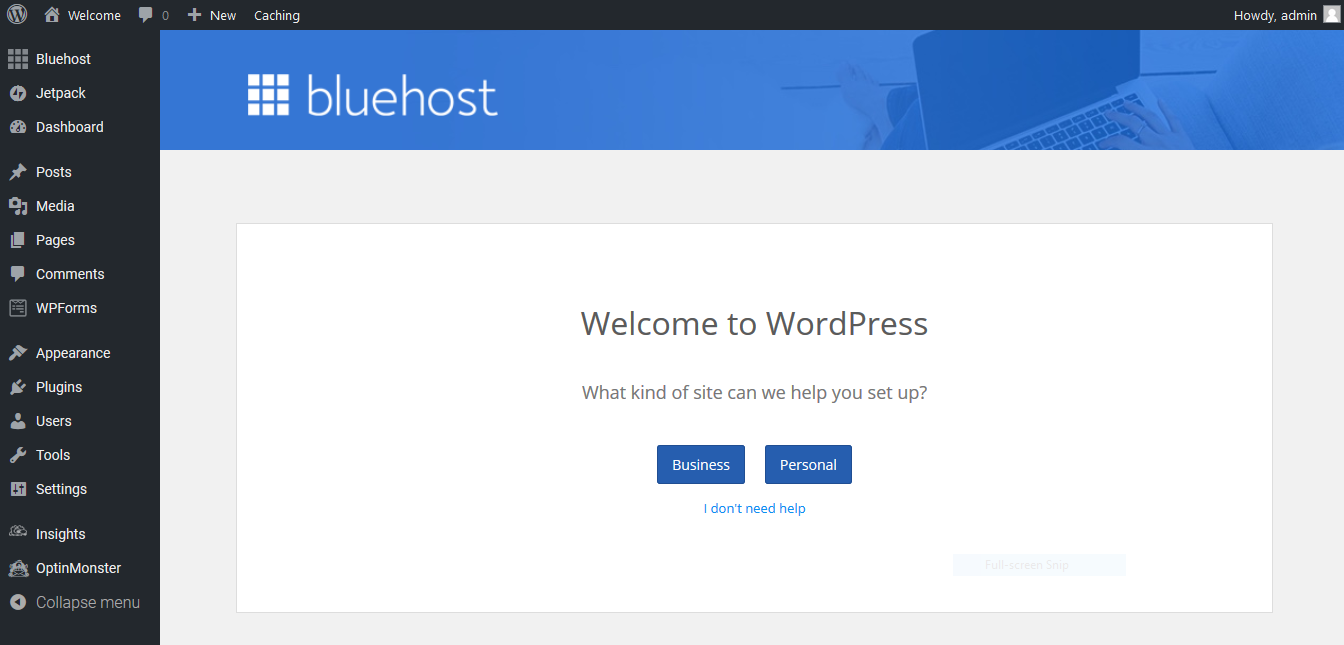
- Now you begin to put together your website by adding your business and contact information, customizing your theme, and adding content. You can opt to go on the ‘tour’ and let Bluehost guide you through it, in which case you’ll be taken through a series of steps to get your information and layout established. Or you can opt to select a theme and edit it manually.
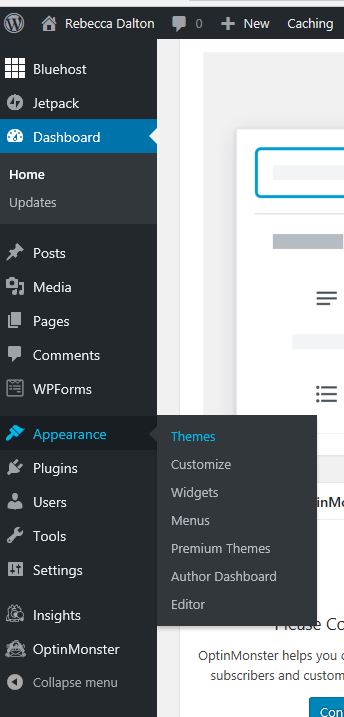
- If you choose to manually select a theme and customize it, on the left-hand menu bar click Appearance>Themes.
- You can choose one of the themes already listed:
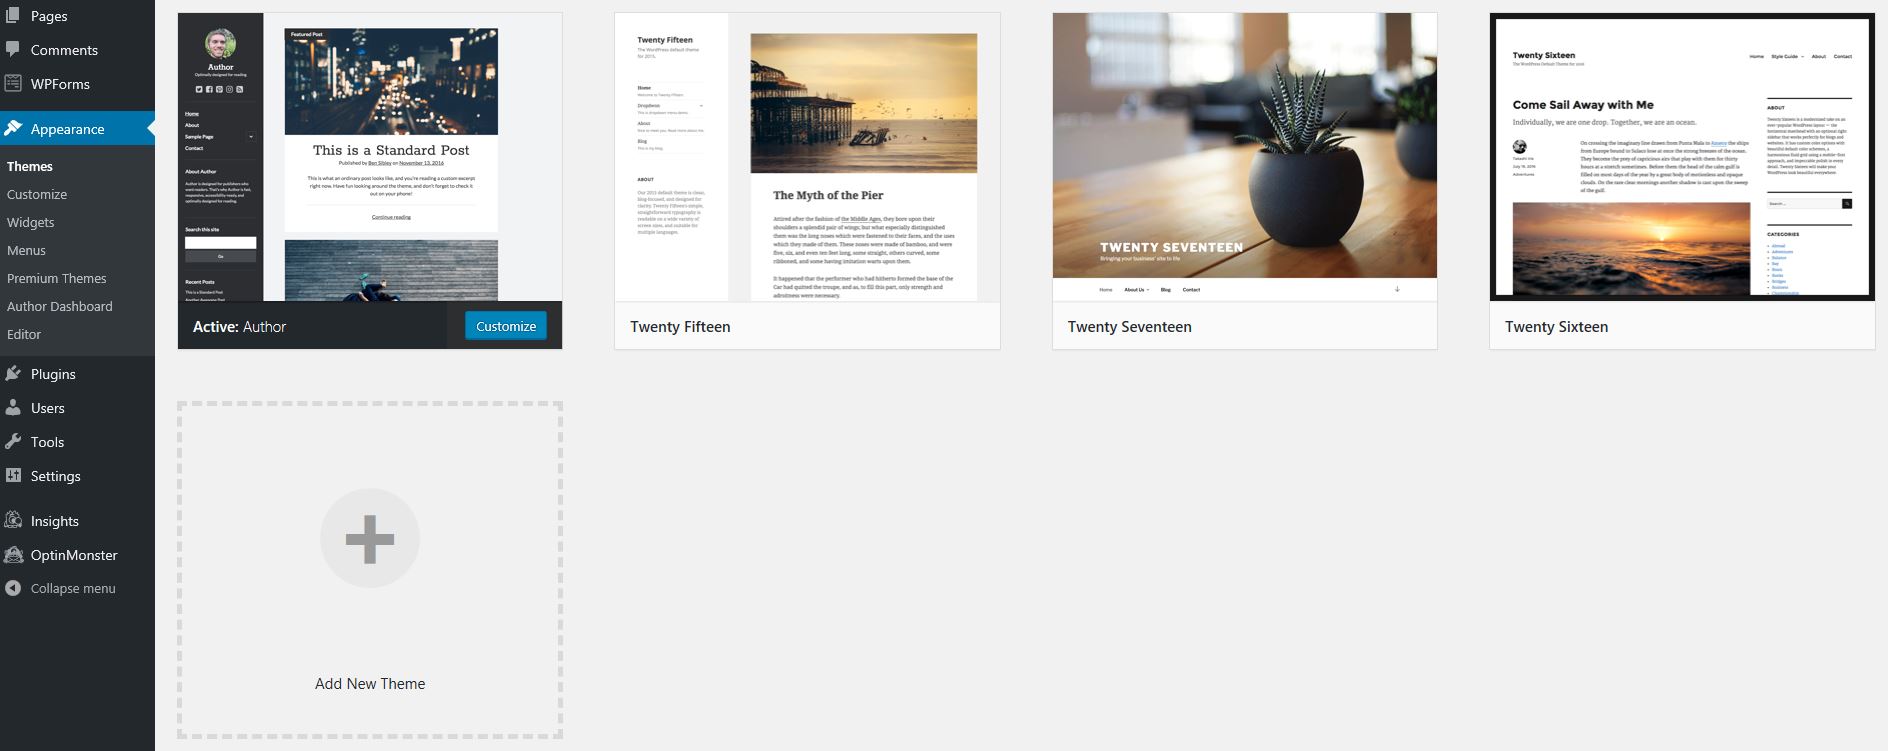
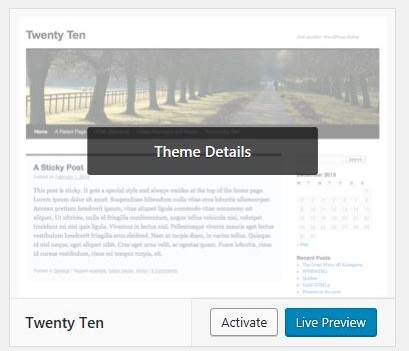
Or click on Add New Theme to browse the available themes. - Once you have a theme you’re interested in you can see a demo by clicking ‘Details and Preview.’
- And then use it by clicking install.

After it installs click the ‘X’ to close out the window, then click ‘Themes’ on the left hand menu bar. - Hover over the desired theme, then click ‘Activate’ to start using the theme.
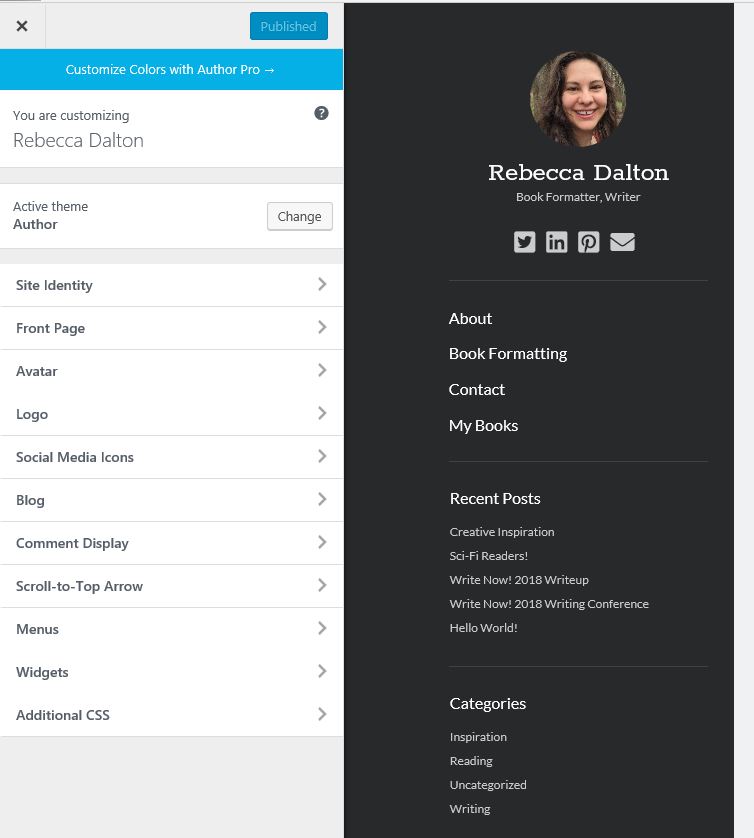
- Now click ‘Customize’ on the menu bar. This will take you to the area where you can customize the way your site will look. Once you’re done you click ‘Publish’ in the upper left corner. This will save your changes.
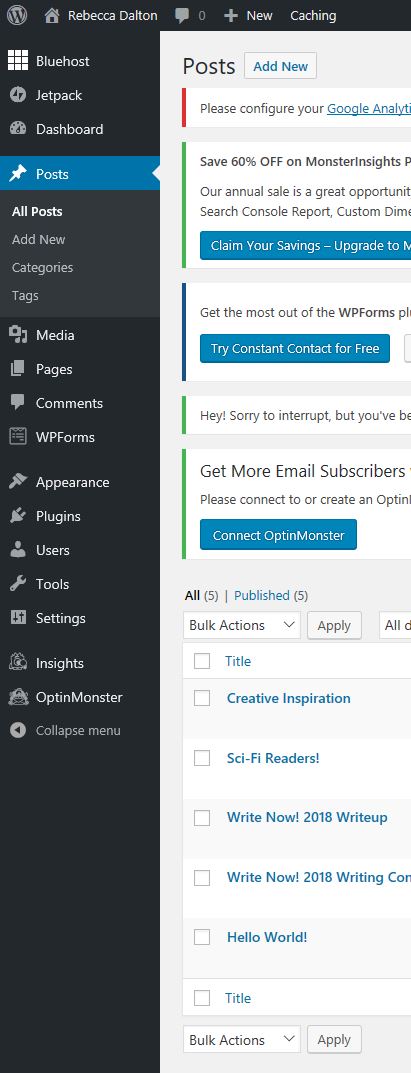
- Now you’re ready to add some content. There are two types of web pages on a WordPress site: Pages and Posts. Pages include things like your Home Page and your About Me page. They are generally static and stay the same for periods of time. Posts are blog posts, which allow comments. Your blog page will show the newest posts on top, so the page will change every time you post a new blog post.
- Click ‘Pages’ from the left-hand menu.
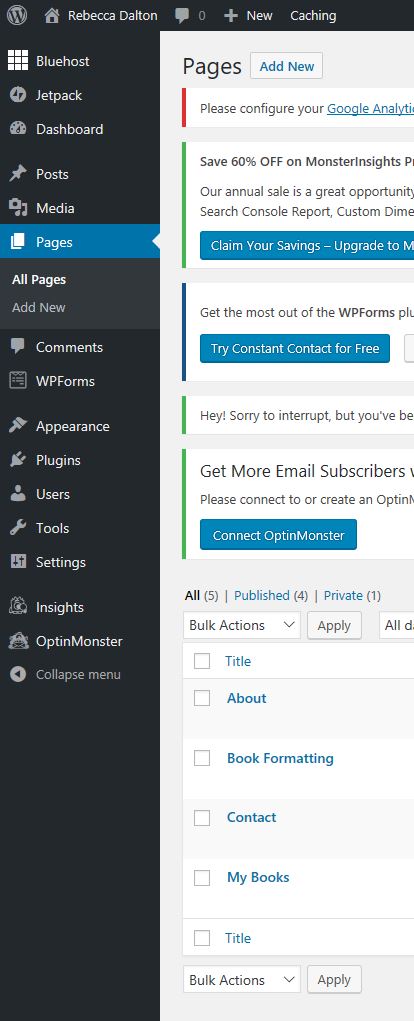
You can add a new page by clicking ‘Add New’ at the top, or update existing pages by clicking on the titles at the bottom. - Click ‘Posts’ from the left-hand menu.
 You’ll see the same process applies for blog posts.
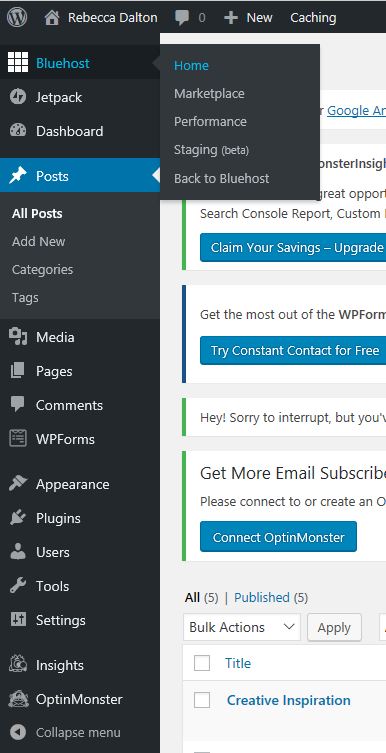
 - Once you’re happy with the look of your site and the content you’ve applied you can take your site live. Up till now there has been a ‘Coming Soon’ graphic displayed on your webpage anytime someone visits. This is so they don’t see your site as you’ve been building it and messing around with your layout and deciding on what text to use. Now that you’re happy with it you can launch your site so the world can see it. Hover over ‘Bluehost’ in the upper left corner, then select ‘Home.’
- In the middle of the screen you’ll see a ‘Launch your site’ section with a ‘Launch’ button.
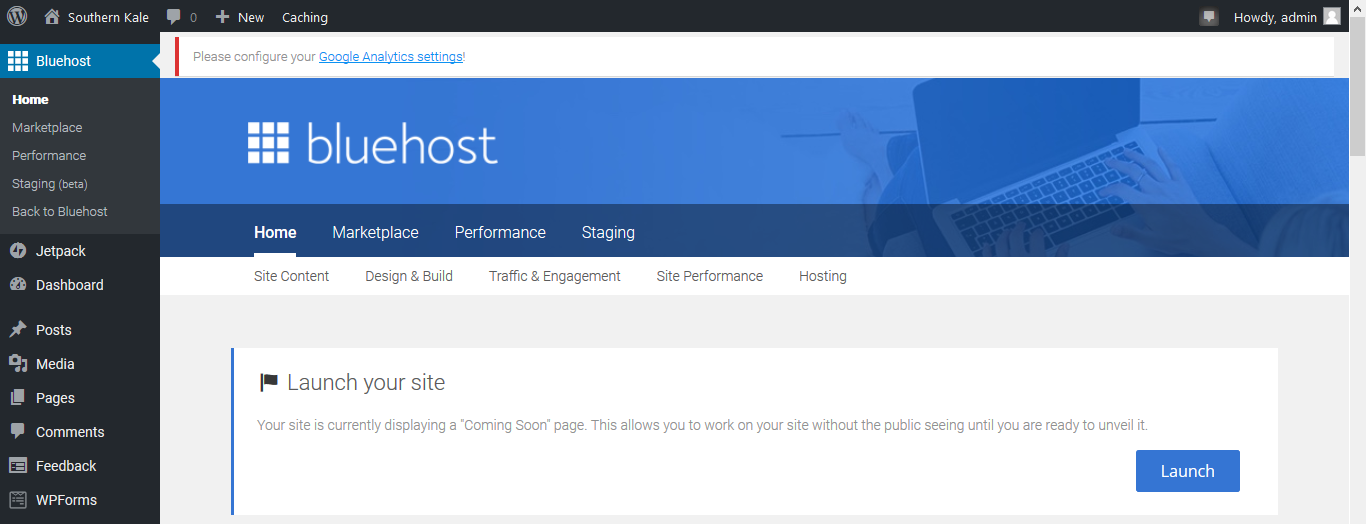 Click the Launch button when you’re ready to go live! It may take a few minutes for the site to go live, but when it does you’ll see your content at your web address, instead of the ‘Coming Soon’ page. Note: There can be a waiting period of a few hours to several days before the domain name you’ve chosen is ready to be used, and therefore before your site can be seen. If you have any questions about when your site will be live you should check in with support.
- Type your desired domain name into the ‘New Domain’ box and click ‘Next.’
-
And now you have your very own website! I hope this tutorial has been helpful. I’d love to hear any feedback you have, or to see your website once it’s live!
Be First to Comment